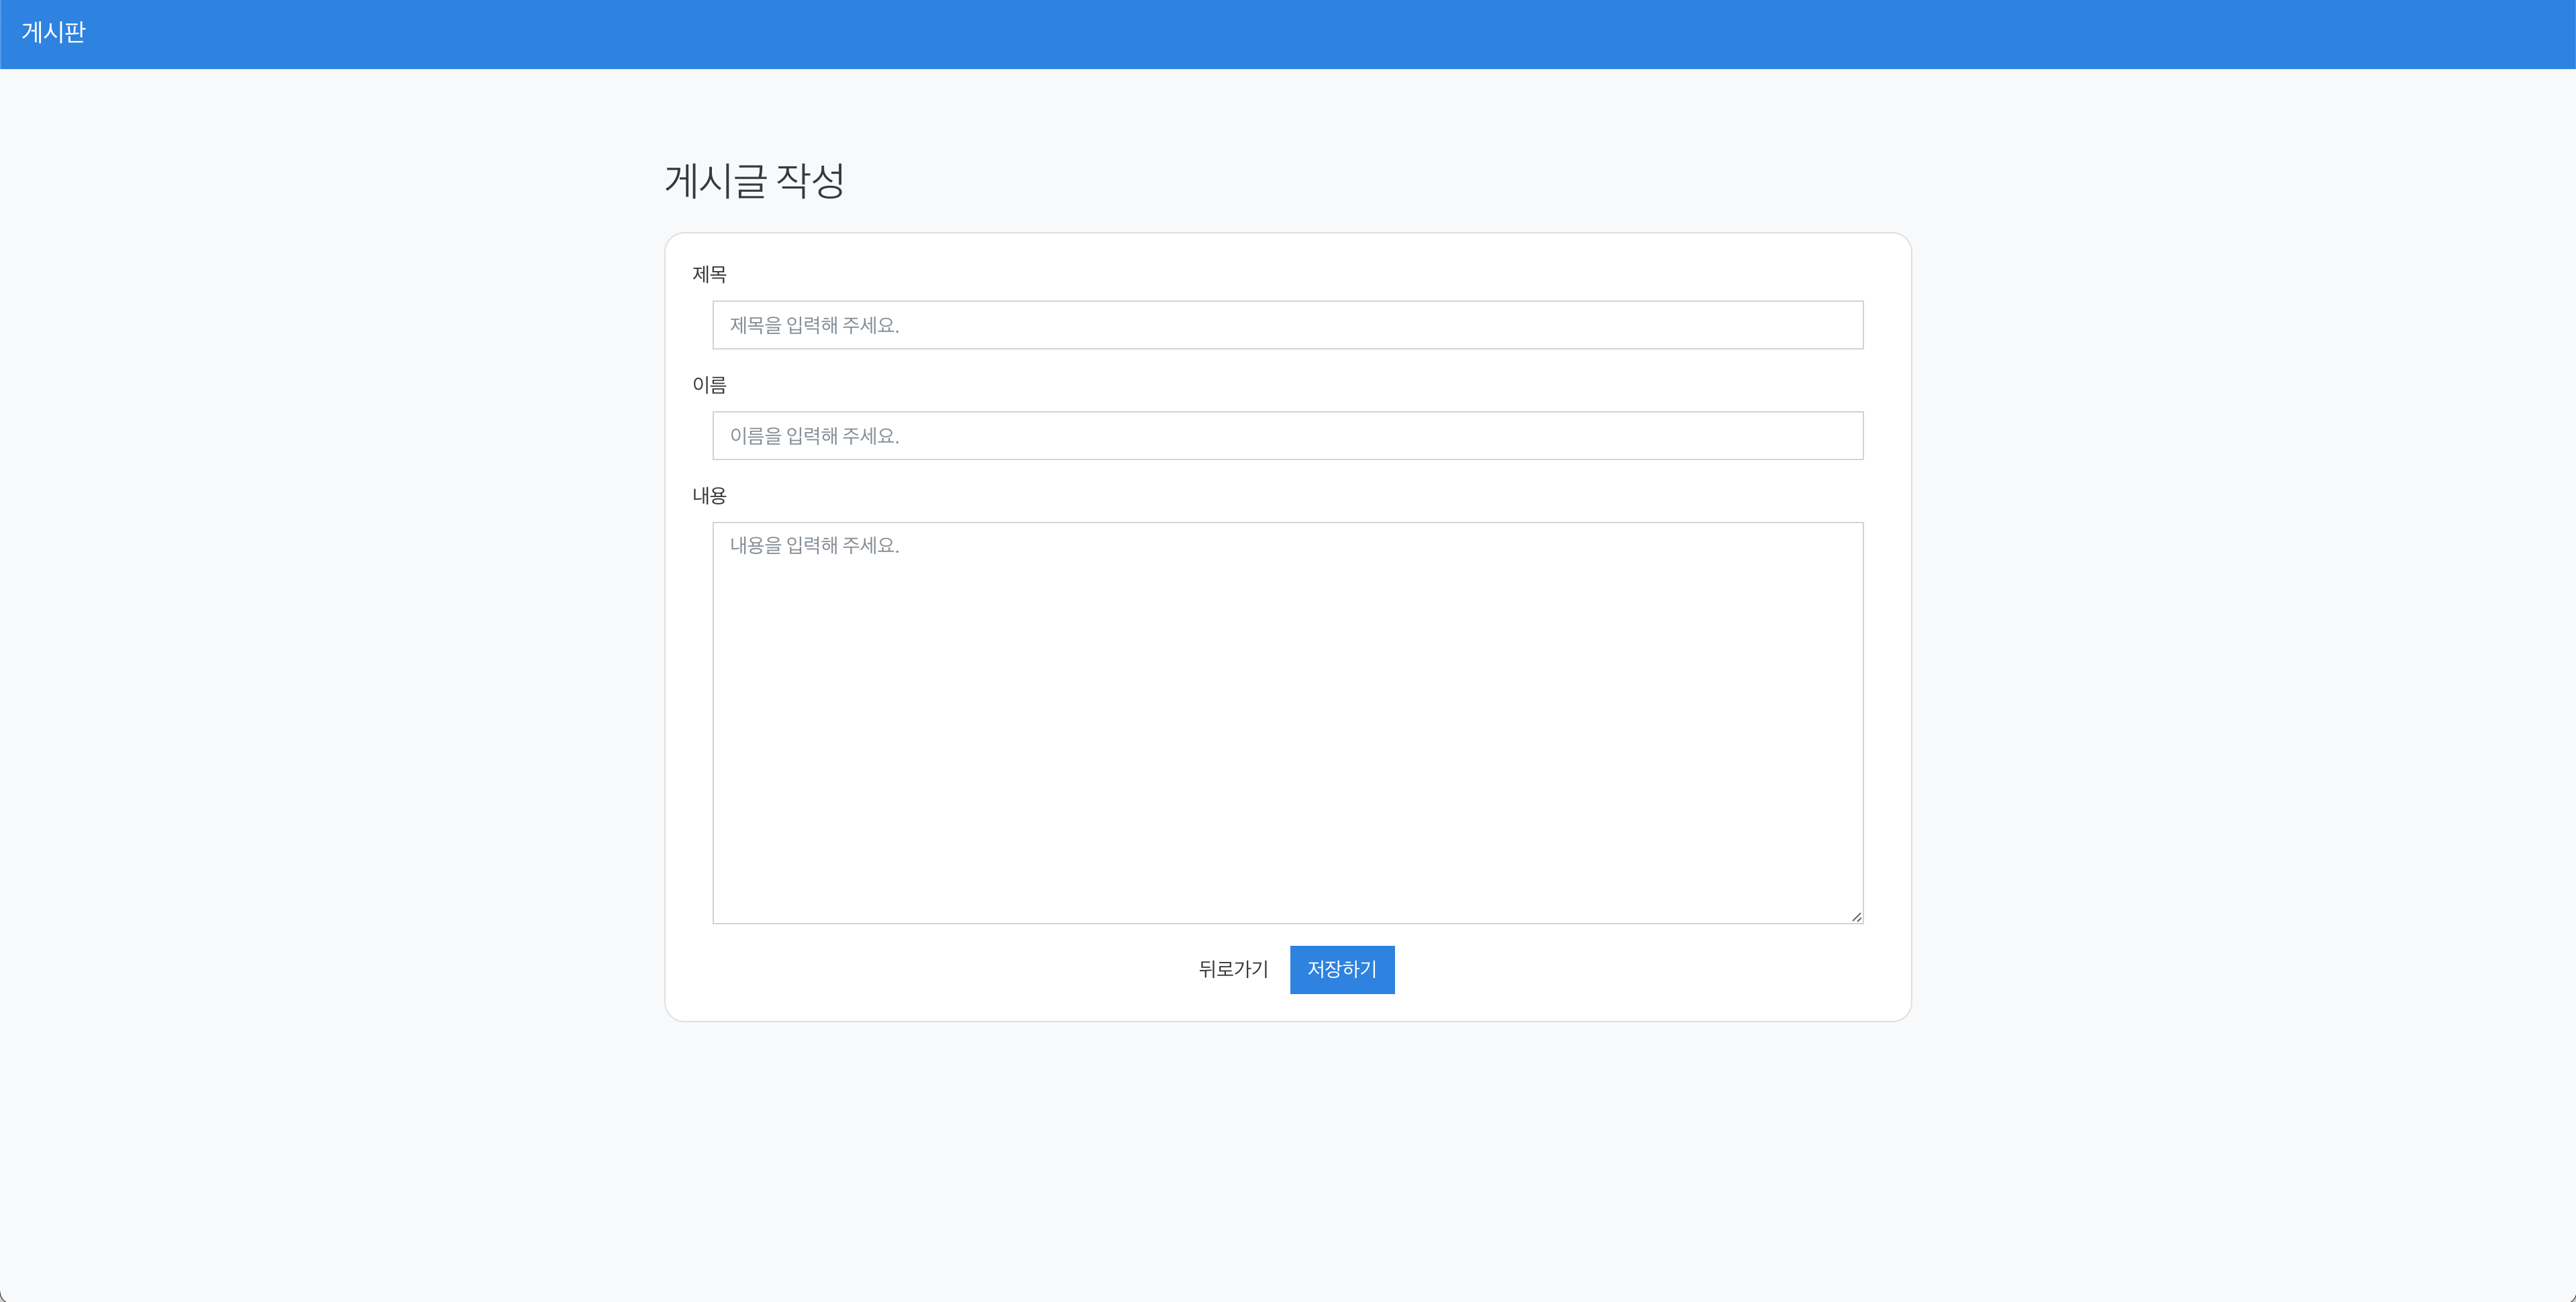
1. 게시글 작성 페이지 만들기
간단하게 게시글 제목, 사용자 이름, 게시글 내용 세가지만 입력 받는 폼을 만들 것이다. 게시글 작성페이지는 Bootstrap을 이용해 만들건데, BootsWatch의 Cosmo navbar가 마음에 들어 이것도 사용할 것이다.
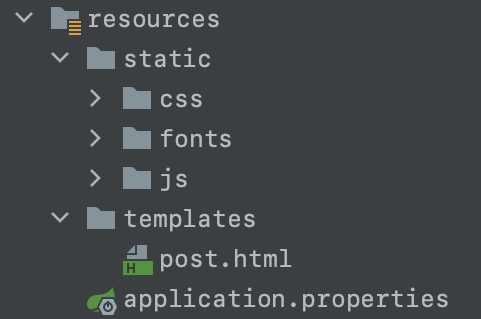
먼저, Bootstrap 사이트에서 css, js, fonts를 다운 받고 BootsWatch사이트 Cosmo 페이지에서 custom.min.css을 다운 받은 후 springboot 프로젝트내의 resources/static위치에 폴더들은 넣는다.
Bootstrap 사이트 : https://getbootstrap.com/docs/4.6/getting-started/introduction/
Bootswatch 사이트 : https://bootswatch.com/
Post 페이지
<!DOCTYPE html>
<html>
<head>
<meta http-equiv="Content-Type" content="text/html; charset=UTF-8">
<link rel="stylesheet" href="./css/bootstrap.css">
<link rel="stylesheet" href="./css/custom.min.css">
<title>게시글 작성 페이지</title>
</head>
<body class="bg-light">
<nav class="navbar navbar-expand-lg navbar-dark bg-primary fixed-top">
<a class="navbar-brand" href="#">게시판</a>
</nav>
<div class="card col-lg-6" style="padding: 20px; border-radius: 15px; margin: 50px auto;">
<form class=" form-horizontal" method="post" onsubmit="return registerBoard(this)">
<div class="form-group">
<label>제목</label>
<div class="col-sm-12">
<input type="text" class="form-control" placeholder="제목을 입력해 주세요." />
</div>
</div>
<div class="form-group">
<label>이름</label>
<div class="col-sm-12">
<input type="text" class="form-control" placeholder="이름을 입력해 주세요." />
</div>
</div>
<div class="form-group">
<label>내용</label>
<div class="col-sm-12">
<textarea class="form-control" style="height: 300px;" placeholder="내용을 입력해 주세요."></textarea>
</div>
</div>
<div class="btn_wrap text-center">
<a href="#" class="btn btn-default waves-effect waves-light">뒤로가기</a>
<button type="submit" class="btn btn-primary waves-effect waves-light">저장하기</button>
</div>
</form>
</div>
</body>
</html>
|
스프링 프로젝트 만들기
게시판 만들기 프로젝트를 진행하면서 Thymeleaf라는 템플릿 엔진을 사용할 것이고, 총 7가지 의존성을 사용할 것이다.
- JPA
- Thymeleaf
- Web
- Lombok
- Devtools
- H2
- validation
build.gradle
dependencies {
    implementation 'org.springframework.boot:spring-boot-starter-data-jpa'
    implementation 'org.springframework.boot:spring-boot-starter-thymeleaf'
    implementation 'org.springframework.boot:spring-boot-starter-web'
    implementation 'org.springframework.boot:spring-boot-starter-validation'

    compileOnly 'org.projectlombok:lombok'
    developmentOnly 'org.springframework.boot:spring-boot-devtools'
    runtimeOnly 'com.h2database:h2'
    annotationProcessor 'org.projectlombok:lombok'
    testImplementation 'org.springframework.boot:spring-boot-starter-test'
}
|
게시글 작성 페이지로 이동하기
/post경로를 통해 요청이 들어오면 게시글을 작성하는 페이지로 이동시킬 예정이다.
테스트 코드 작성
/post경로로 요청이 들어왔을 때 정상적으로 control이 작동하는 경우 ok(status code : 200)을 반환한다.
@WebMvcTest
class PostControllerTest {

    @Autowired
    MockMvc mockMvc;

    @Test
    @DisplayName("게시글 작성페이지로 이동하는지 확인한다.")
    public void movePost() throws Exception{
        ResultActions resultActions = mockMvc.perform(get("/post"));

        resultActions
                .andExpect(status().isOk())
                .andDo(print());
    }
}
|
control 구현
/post경로로 요청이 들어왔을 때 post.html을 반환해 사용자에게 게시글 작성 페이지를 보여준다.
@Controller
public class PostController {

    @GetMapping("/post")
    public String post(){
        return "post";
    }
}
|