4. My SQL과 연동
의존성 추가
My Sql과 연동하기 위해서는 Springboot프로젝트에 의존성을 추가해야 한다.
build.gradle
implementation 'mysql:mysql-connector-java'
|
데이터베이스 접속 설정하기
application-mysql.yml
spring:
  datasource:
    driver-class-name: com.mysql.cj.jdbc.Driver
    url: jdbc:mysql://localhost:3306/[DB]?serverTimezone=UTC&characterEncoding=UTF-8
    username: [DB 접속 Id]
    password: [DB 접송 Password]
|
접속 설정 가져오기
설정에 show_sql 과 format_sql 를 추가해 쿼리문들이 어떻게 출력되는지 눈으로 쉽게 확인할 수 있다.
spring.jpa.properties.hibernate.show_sql=true : JPA(hibernamte)가 실행하는 SQL 쿼리문 로그를 출력한다.spring.jpa.properties.hibernate.format_sql=true : SQL문을 보기 좋게 정렬해 출력해준다.
application.yml
spring:
  jpa:
    hibernate:
      ddl-auto: create
    properties:
      hibernate:
        show_sql: true
        format_sql: true

  profiles:
    include: mysql
|
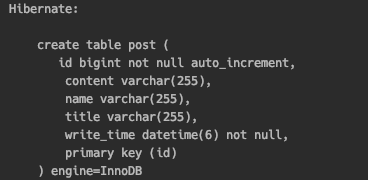
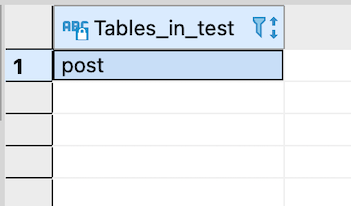
Springboot를 실행하면 로그에 create 쿼리문이 찍히는 것을 확인할 수 있고 DB로 가게 되면 post 테이블이 생성됬음을 알 수 있다.
임의 데이터 추가하기
CommandLineRunner를 사용해서 어플리케이션을 구동하면서 데이터를 데이터 베이스에 저장시킨다.
익명객체 생성
@Bean
public CommandLineRunner runner(PostRepository postRepository) throws Exception {
    return new CommandLineRunner() {
        @Override
        public void run(String... args) throws Exception {
            IntStream.rangeClosed(1, 200).forEach(index ->
                    postRepository.save(Post.builder()
                            .title("게시글" + index)
                            .name("tester")
                            .content("내용" + index)
                            .writeTime(LocalDateTime.now())
                            .build()));
        }
    };
}
|
람다식으로 직성
@Bean
public CommandLineRunner runner(PostRepository postRepository) throws Exception {
    return args -> {
        IntStream.rangeClosed(1, 200).forEach(index ->
                postRepository.save(Post.builder()
                        .title("게시글" + index)
                        .name("tester")
                        .content("내용" + index)
                        .writeTime(LocalDateTime.now())
                        .build()));
    };
}
|
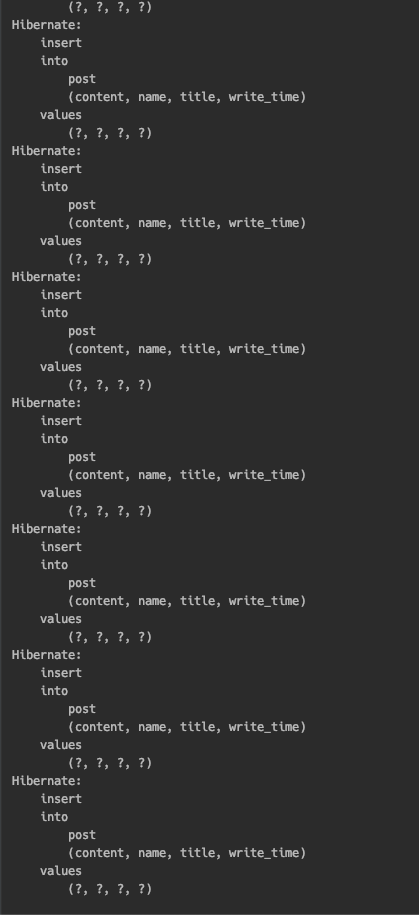
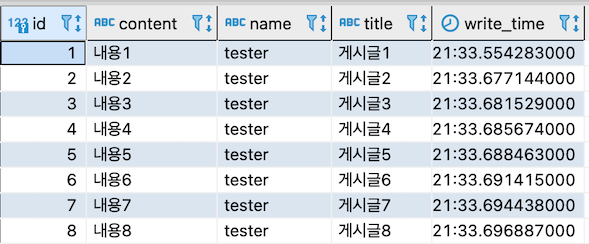
데이터 베이스를 확인해 보니 데이터들이 정상적으로 입력된걸 확인할 수 있었다.
물론 수없이 많은 쿼리문들이 날라간 것도 눈으로 확인할 수 있다!