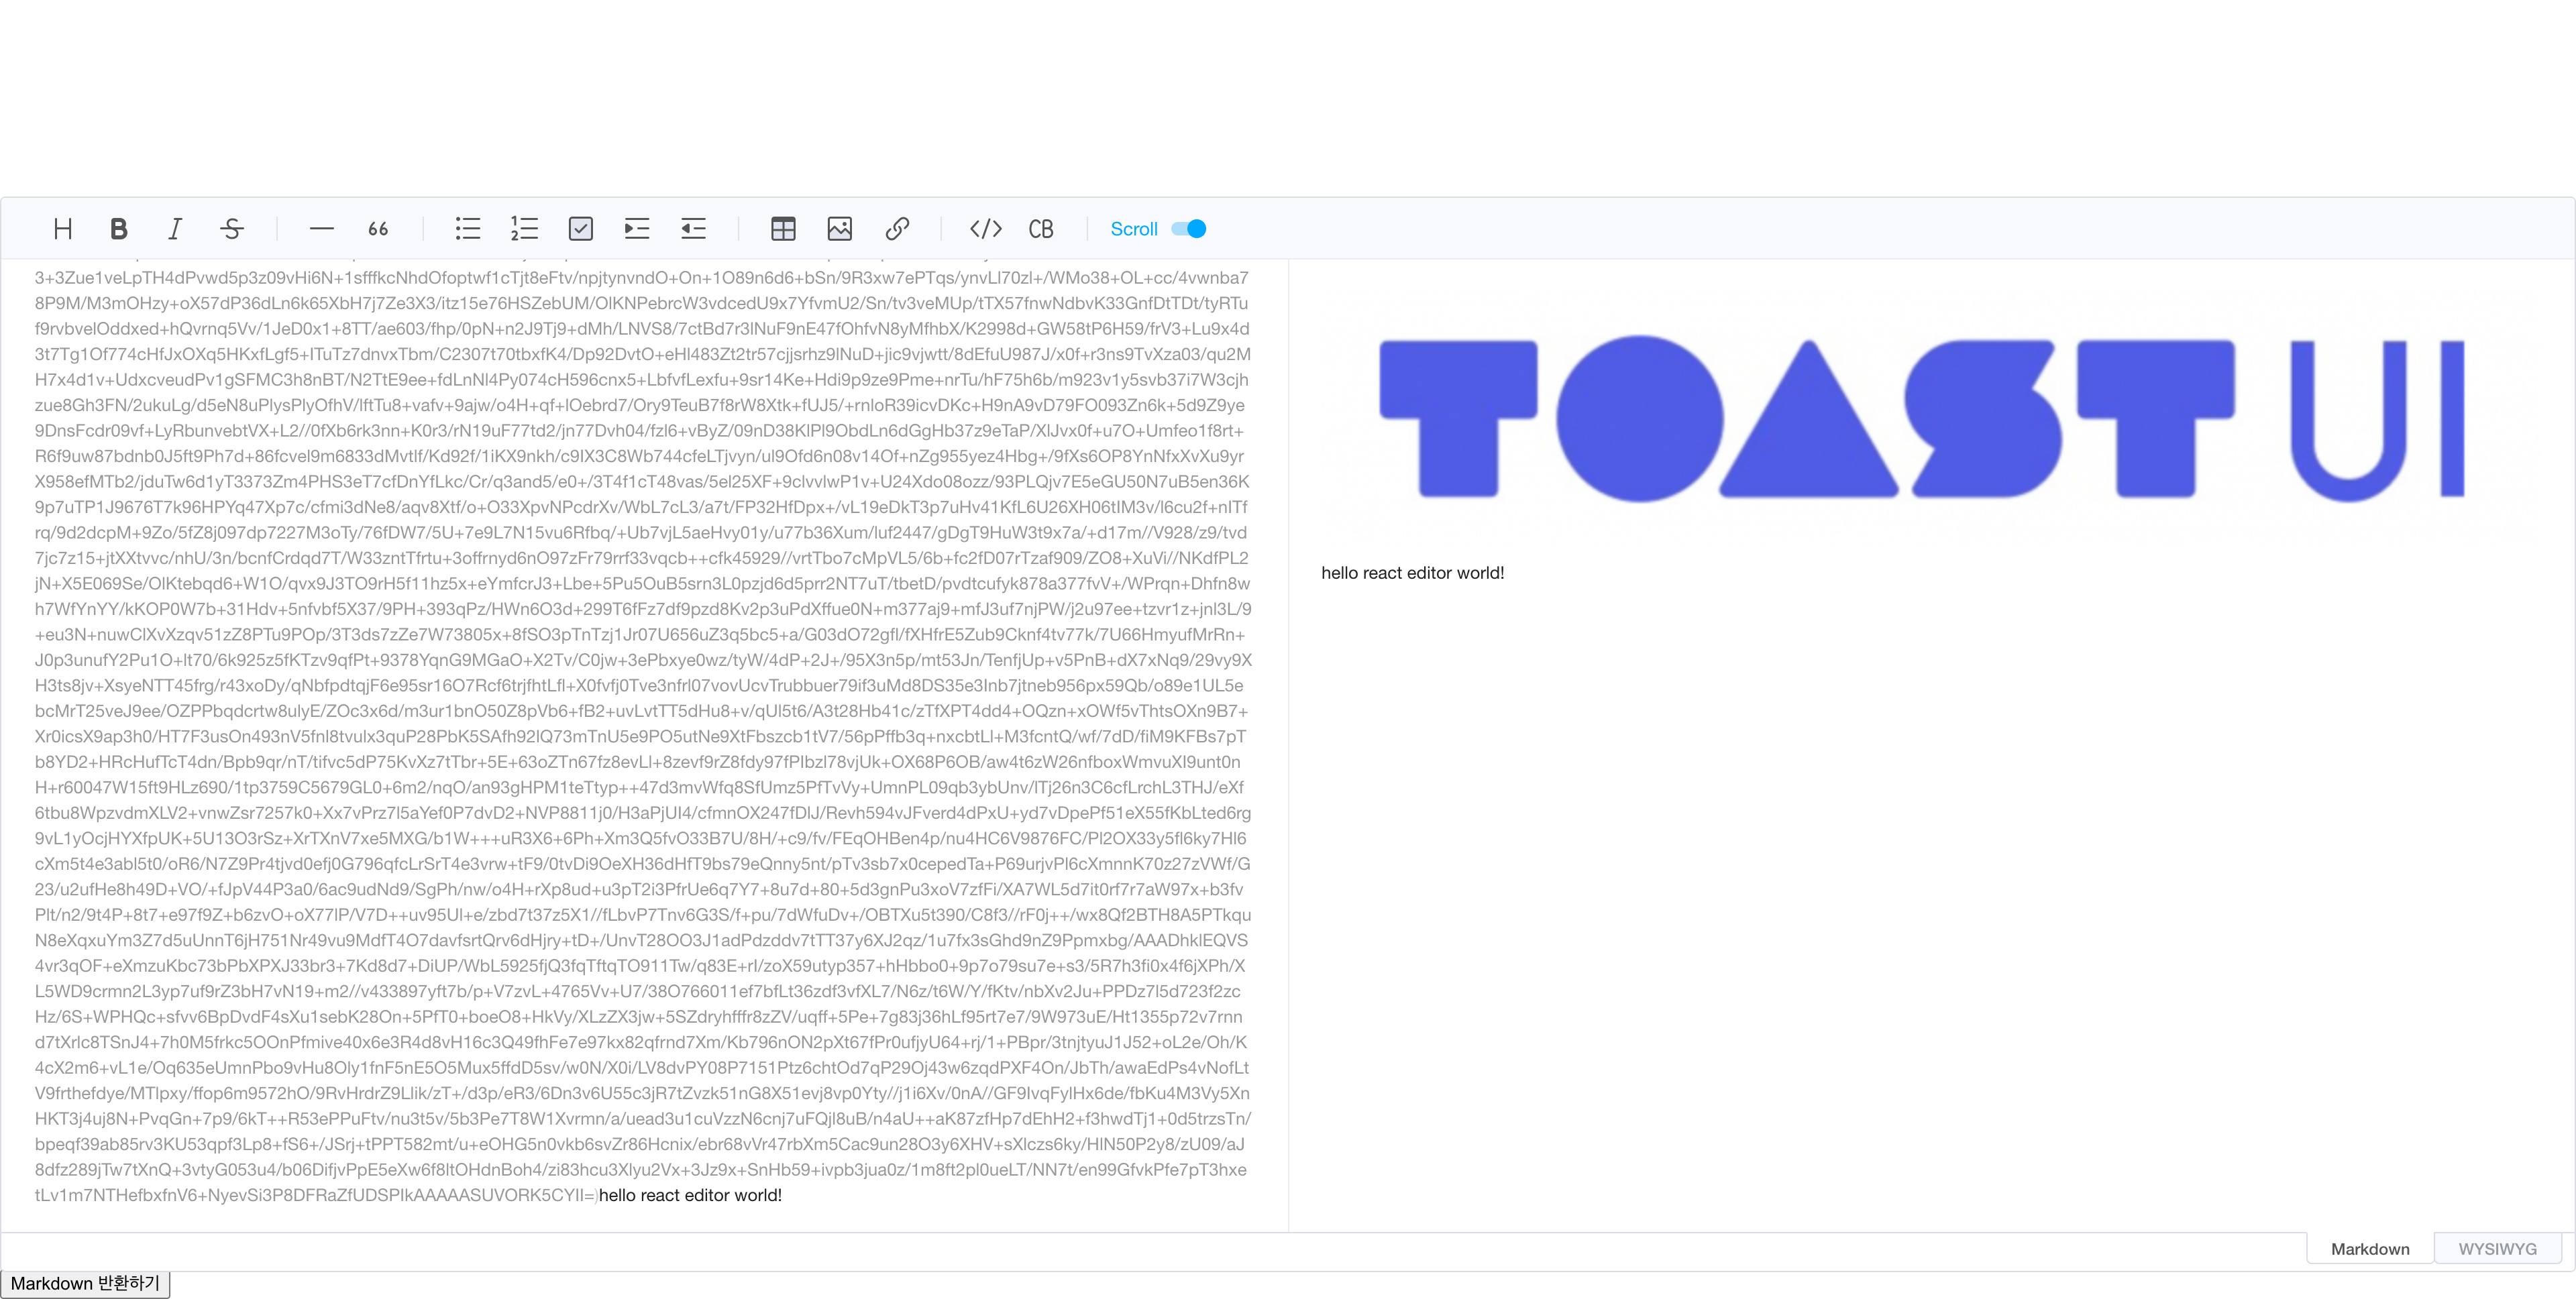
React Toast UI Editor 4 - 이미지 올리기 Editor에서 이미지 업로드를 지원하다고 해서 이미지를 붙여 넣었더니 다음과 같이 이미지가 base64로 인코딩 돼 올라가는 것을 보고 살짝 당황했다.
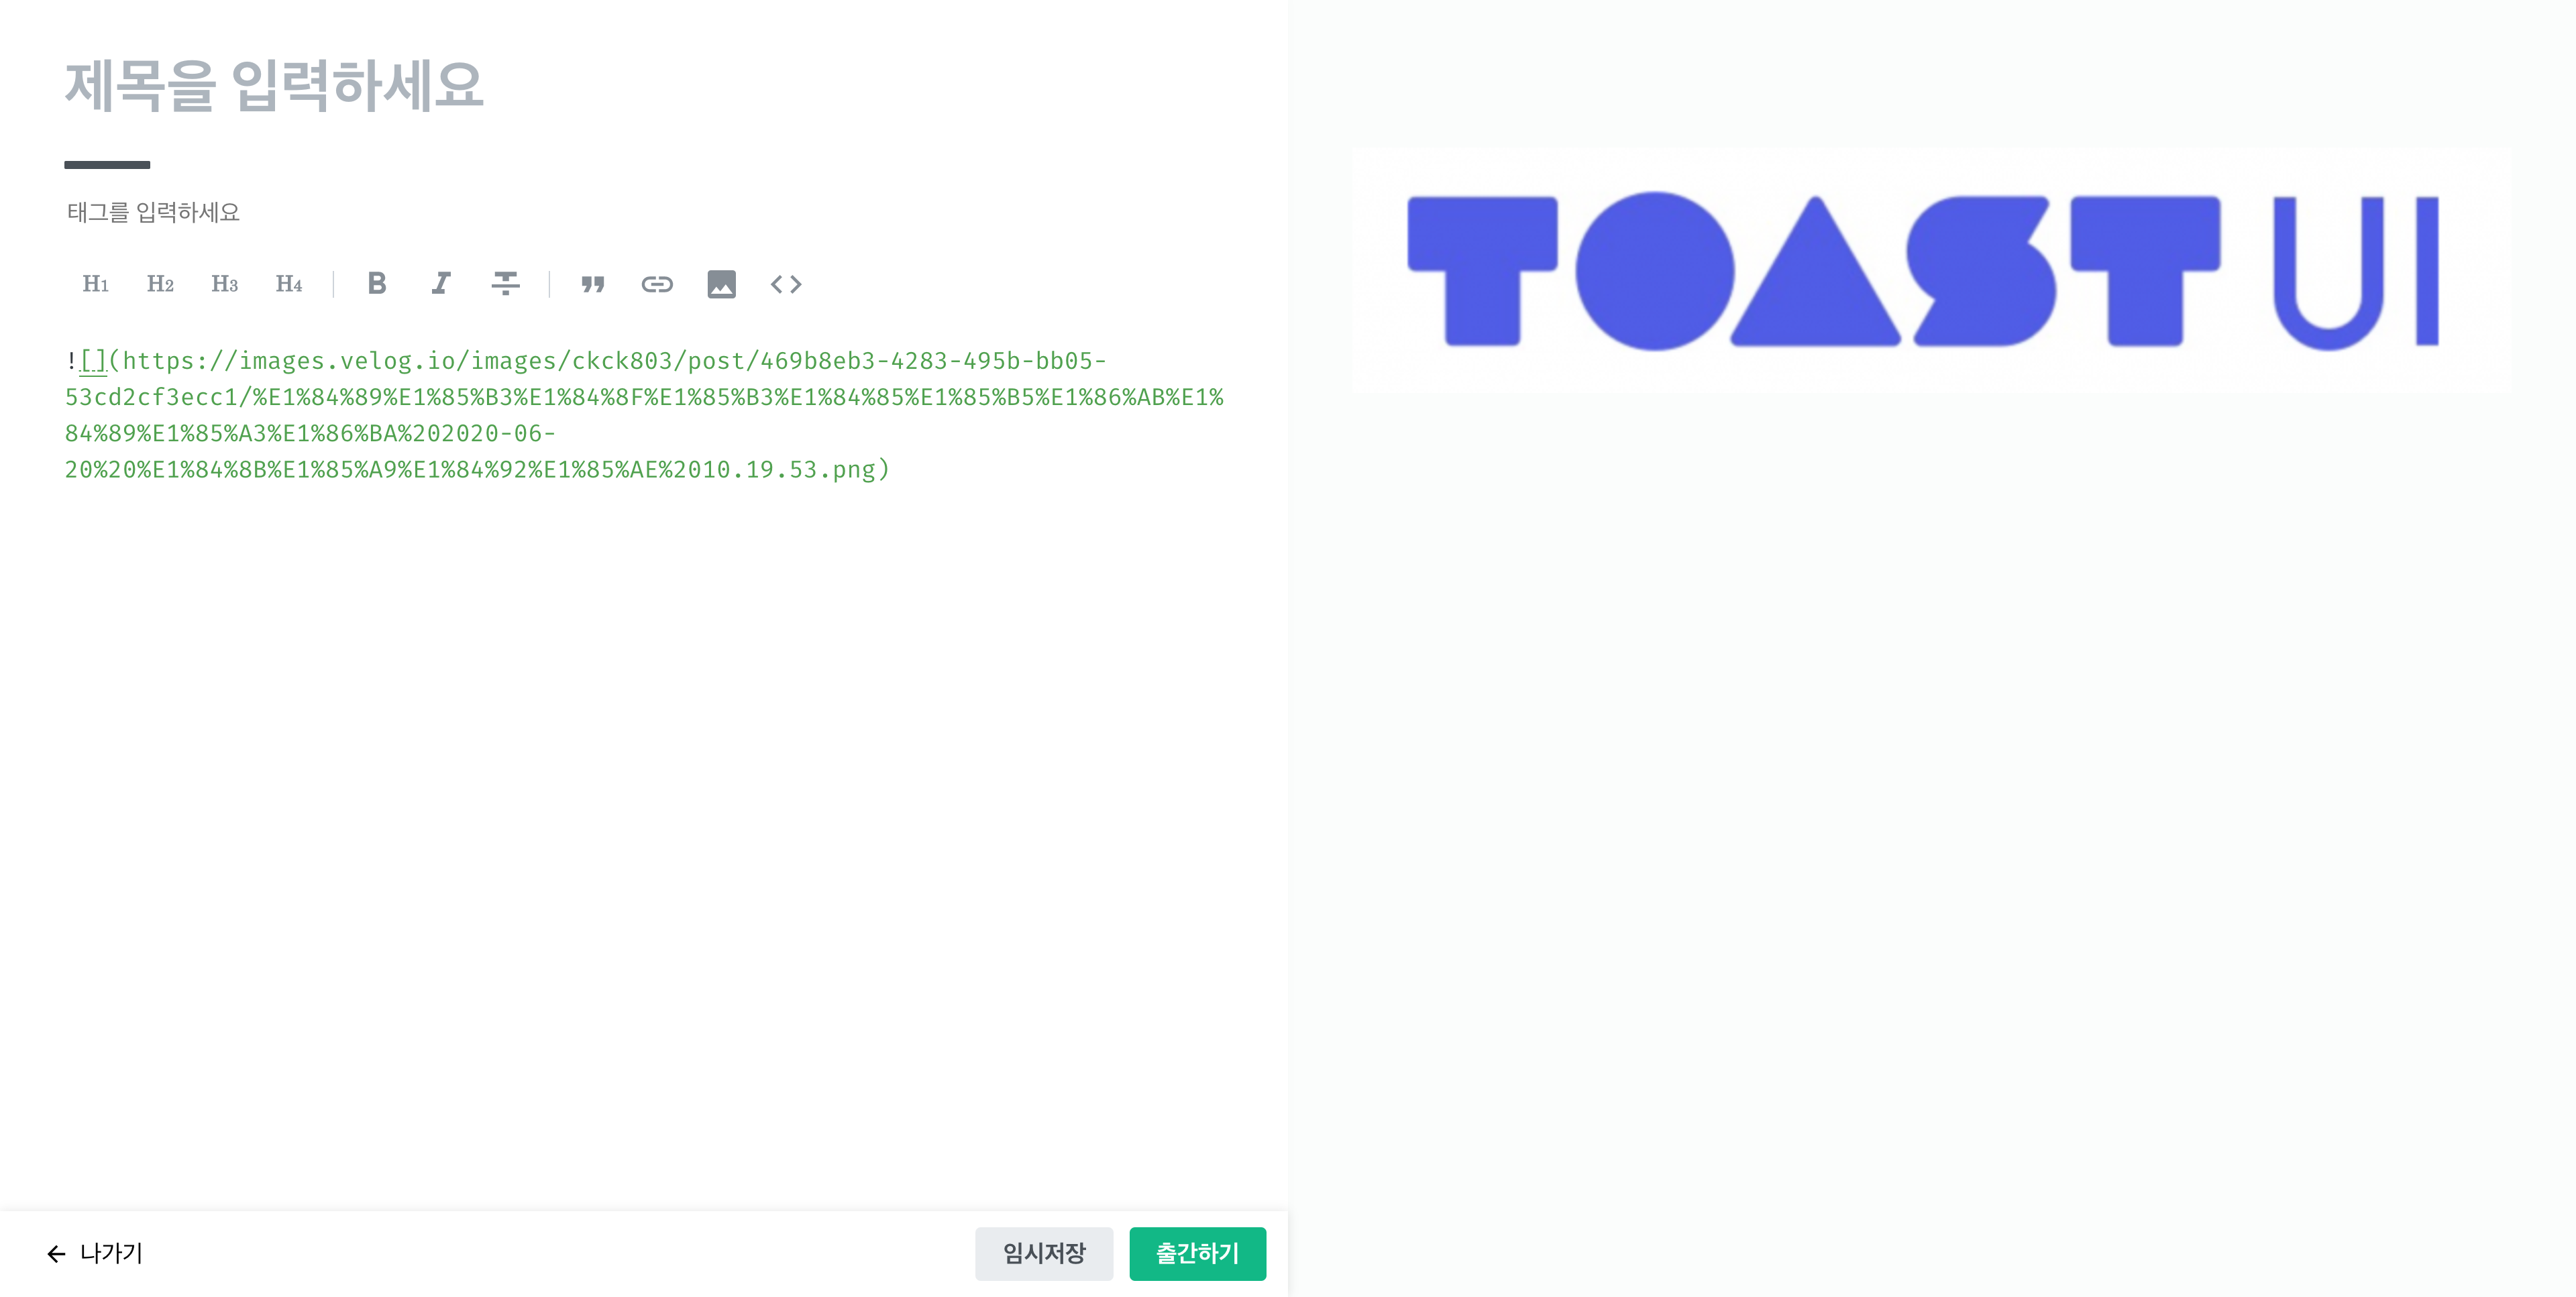
어떻게 해야지 하면서 문득 생각이 들었던게 Markdown Editor를 사용하는 대표 블로그 사이트인 velog가 생각이 났다. 그래서 당장 velog로 가서 이미지를 올려보니! 다음과 같이 이미지가 저장된 URL을 가져오는 것을 확인 할 수 있었다. 아마 내부적으로 이미지가 들어오면 먼저 서버에 이미지를 저장하고 이미지가 저장된 경로를 받는 로직 같았다. 즉! 이미지를 업로드 하려면 이미지를 저장할 수 있는 서버를 준비해 연동할 필요가 있다는 것이다.
Toast UI Editor에 Image 업로드 하기 위한 방법을 찾다 보니 처음에 연결된 Hook을 제거하고 새로운 Hook을 정의해 서버에 이미지를 올릴 수 있는 것을 알게 됐다.
https://github.com/nhn/tui.editor/issues/1588
TOAST UI 에 Image Server 에 올리는 기능 구현 import React , { useRef, useEffect } from "react" ;import axios from "axios" ;import { Editor } from "@toast-ui/react-editor" ;import "@toast-ui/editor/dist/toastui-editor.css" ;import codeSyntaxHighlight from "@toast-ui/editor-plugin-code-syntax-highlight/dist/toastui-editor-plugin-code-syntax-highlight-all.js" ;import "prismjs/themes/prism.css" ;const Write = ( const editorRef = useRef (); const handleClick = ( console .log (editorRef.current .getInstance ().getMarkdown ()); }; useEffect (() => { if (editorRef.current ) { editorRef.current .getInstance ().removeHook ("addImageBlobHook" ); editorRef.current .getInstance () .addHook ("addImageBlobHook" , (blob, callback ) => { (async () => { let formData = new FormData (); formData.append ("file" , blob); console .log ("이미지가 업로드 됐습니다." ); const { data : filename } = await axios.post ( "/file/upload" , formData, { header : { "content-type" : "multipart/formdata" }, } ); const imageUrl = "http://localhost:8080/file/upload/" + filename; callback (imageUrl, "iamge" ); })(); return false ; }); } return () => {}; }, [editorRef]); return ( <div > <Editor initialValue ="hello react editor world!" previewStyle ="vertical" height ="800px" initialEditType ="markdown" useCommandShortcut ={true} ref ={editorRef} plugins ={[codeSyntaxHighlight]} /> <button onClick ={handleClick} > Markdown 반환하기</button > </div > ); }; export default Write ;
이미지 업로드 서버 구현 이미지 저장 API 구현
동일한 Image 명으로 인해 기존 이미지를 덮어쓰는 문제를 방지하기 위해 UUID 를 이용해 Image 를 저장한다.
String filePath = "/Users/dongwoo-yang/spring-file/" ;@PostMapping("/file/upload") public ResponseEntity upload (@RequestParam("file") MultipartFile multipartFile, HttpServletRequest request) throws IOException, URISyntaxException { if (multipartFile.isEmpty()){ log.info("File is empty" ); } String fullFilename = multipartFile.getOriginalFilename(); int lastIndex = fullFilename.lastIndexOf("." ); String filename = fullFilename.substring(0 , lastIndex); String ext = fullFilename.substring(lastIndex + 1 ); String newName = UUID.randomUUID() + "." + ext; String uploadPath = filePath + newName; multipartFile.transferTo(Paths.get(uploadPath)); URI uri = new URI (request.getRequestURI()); return ResponseEntity.created(uri).body(newName); }
저장된 이미지 불러오기 위한 API 구현
전달 받은 File 명을 이용해 서버에 저장된 이미지를 가져온 후
UrlResource 객체로 반환하면 브라우저에서 이미지를 확인할 수 있다.
@ResponseBody @GetMapping("/file/upload/{filename}") public Resource downloadImage (@PathVariable String filename) throws MalformedURLException { log.info("file: {}" , filePath + filename); return new UrlResource ("file:" + filePath + filename); }
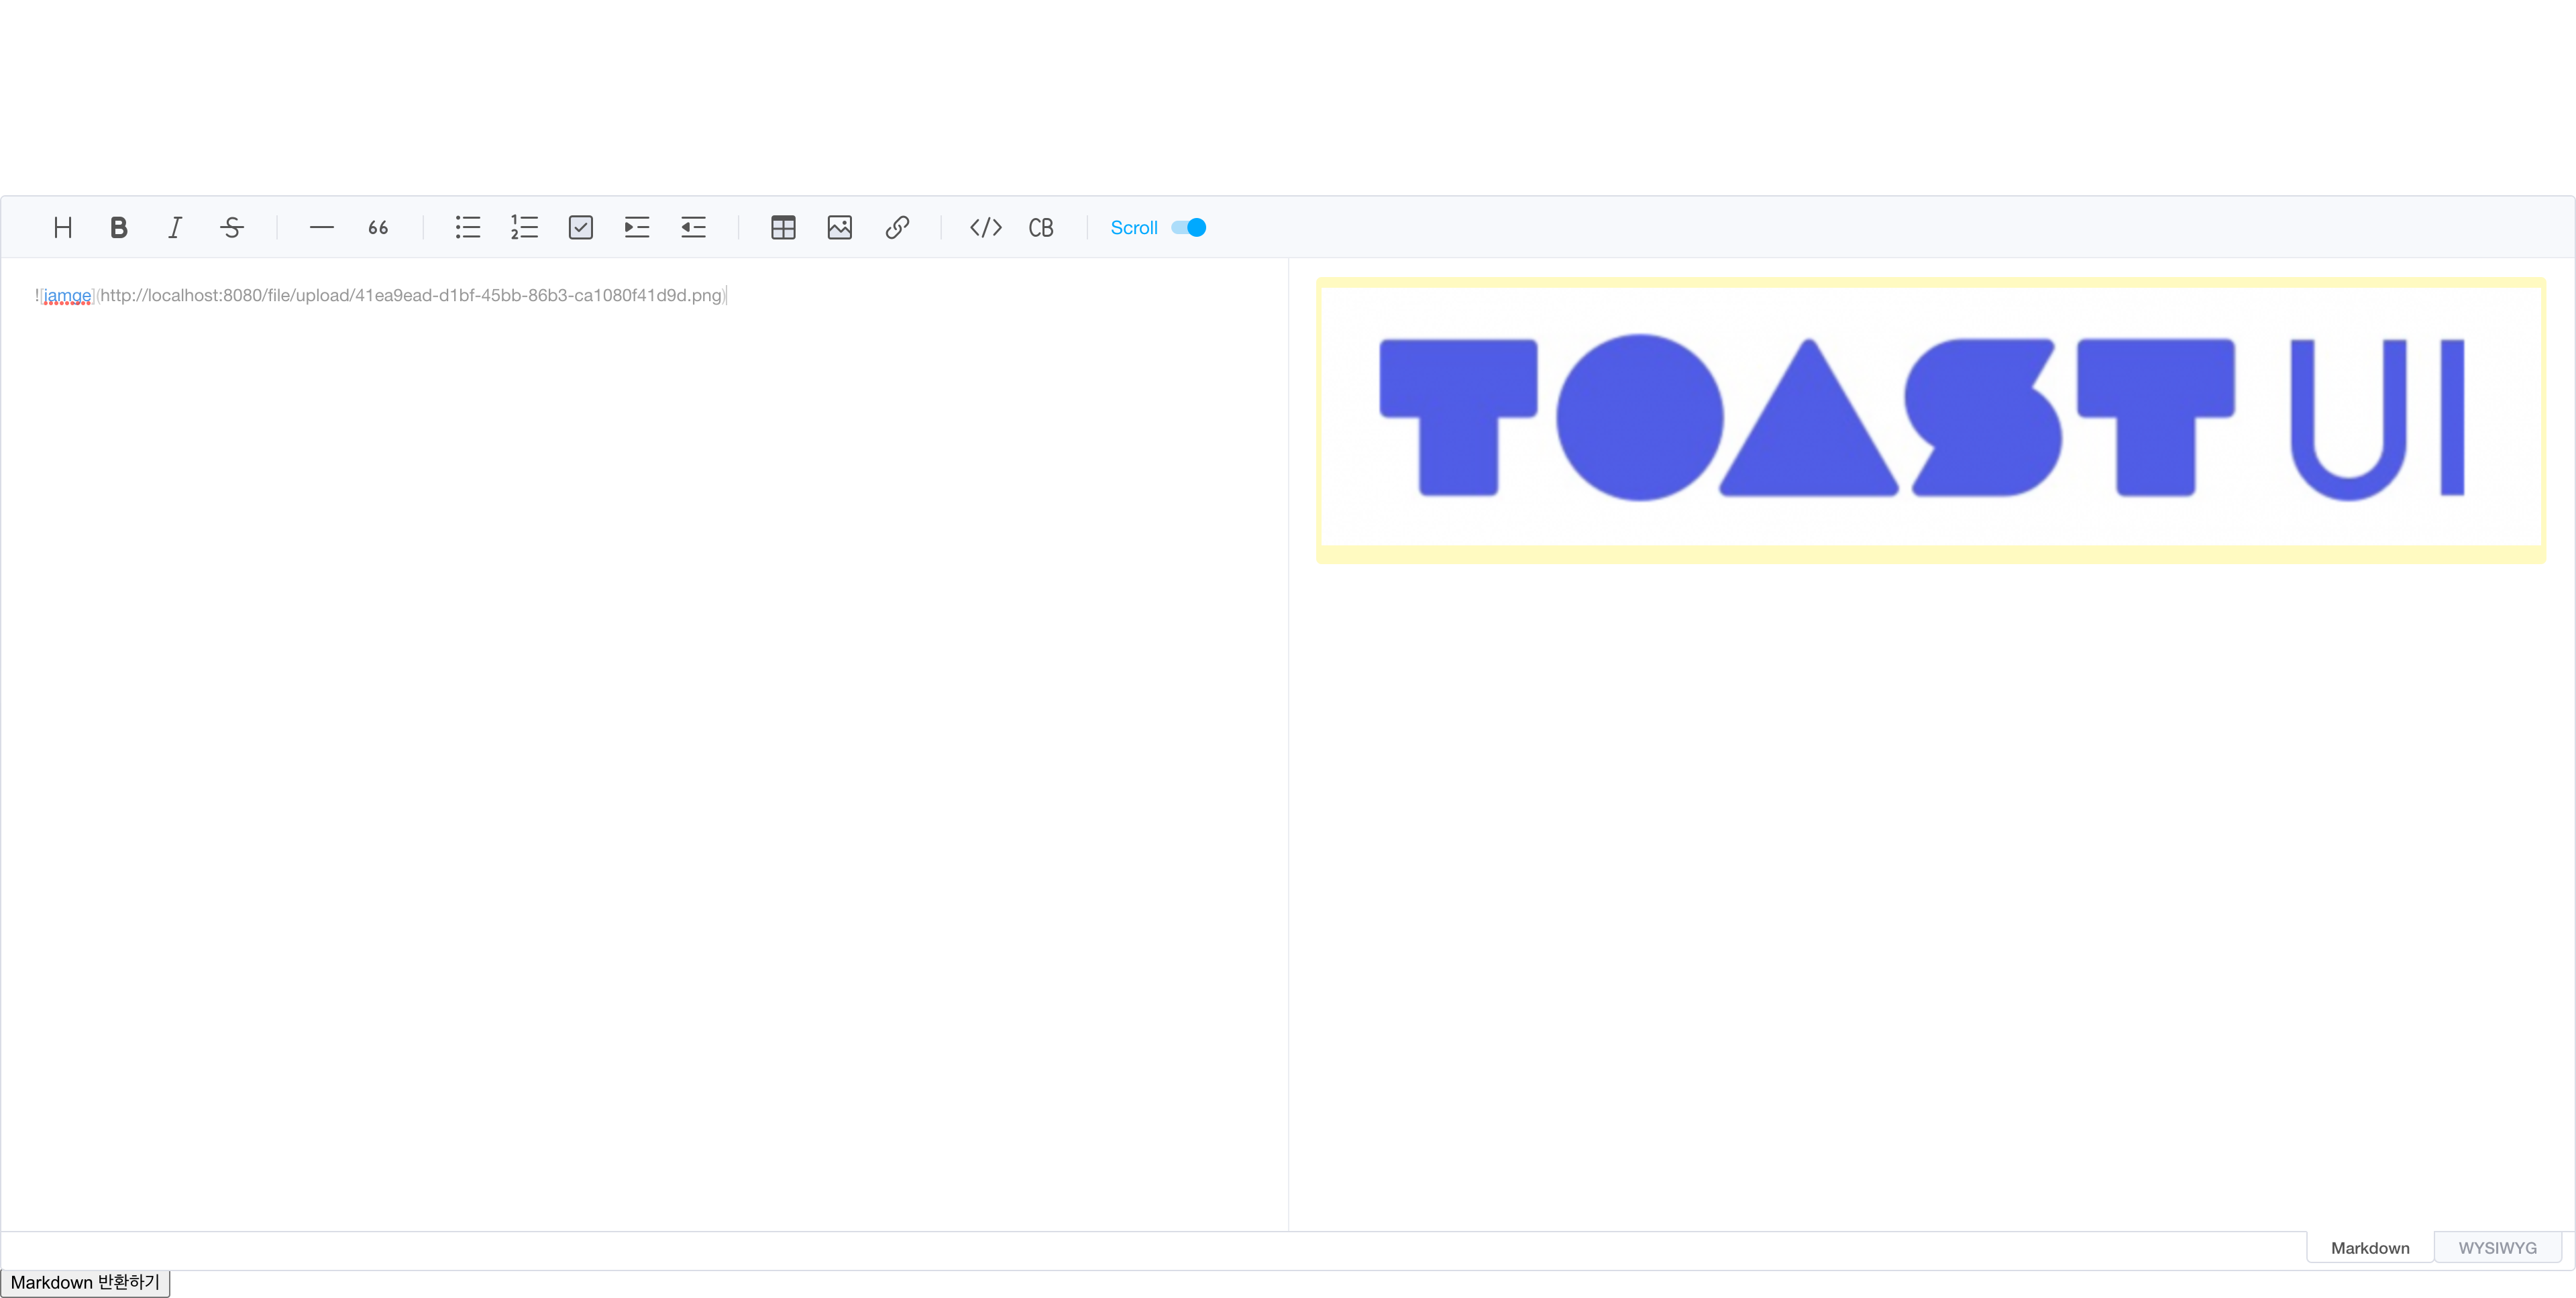
이미지를 성공적으로 서버에 올리고 서버에 저장된 이미지를 가져오는 것을 확인할 수 있다.