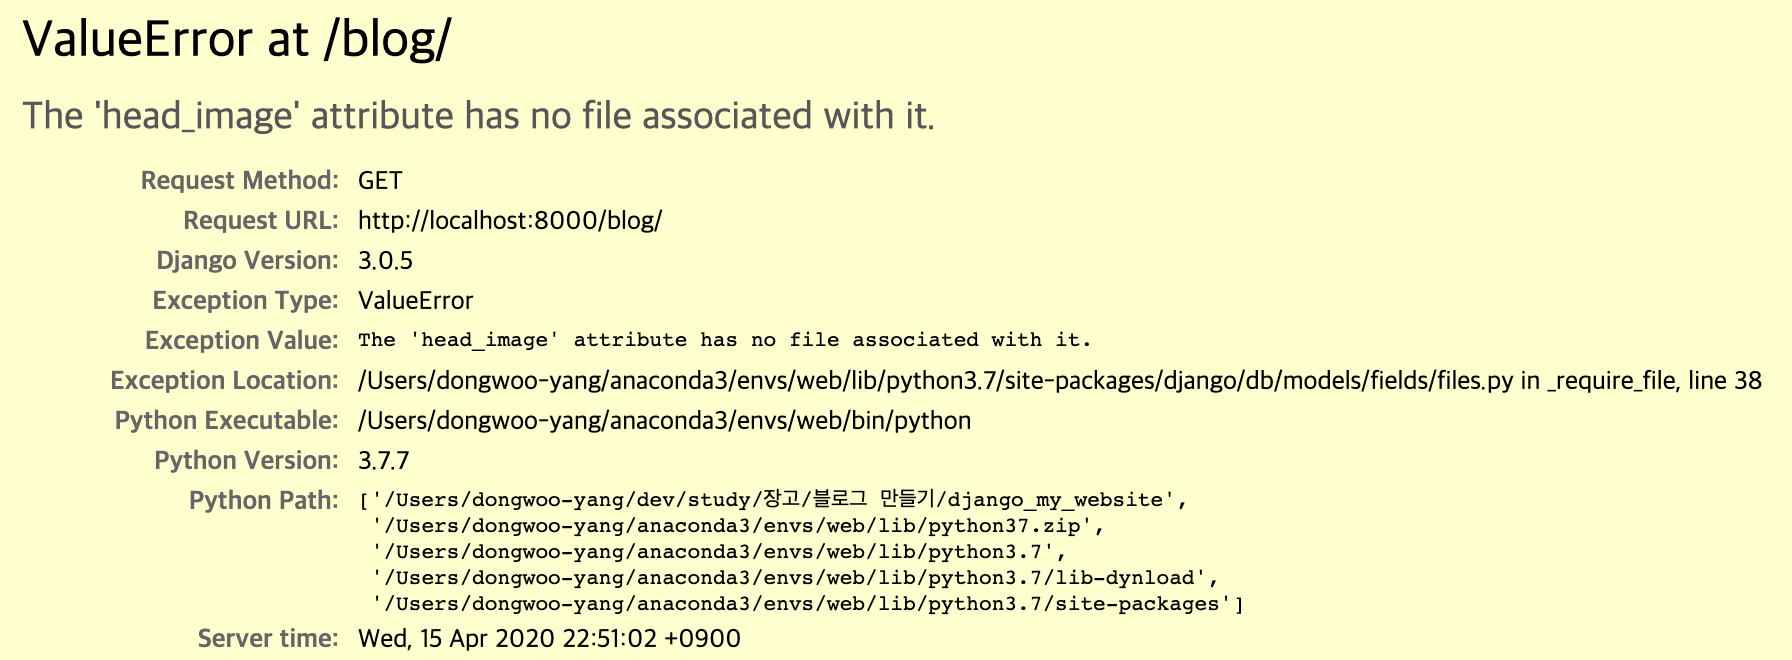
from django.db import models from django.contrib.auth.models import User # Create your models here. classPost(models.Model): # 제목 title = models.CharField(max_length=30) # 내용 content = models.TextField() # 이미지 파일 저장을 위한 객체 # upload된 이미지 파일은 blog에 저장이 된다. blank = True는 공란이여도 된다는 의미이다. head_image = models.ImageField(upload_to='blog/', blank=True) # 작성 일자 created = models.DateTimeField() # 저자 author = models.ForeignKey(User, on_delete=models.CASCADE) # 해당 객체를 문자열로 바꿧을 때 어떤 식으로 보여줄 것인지를 결정한다. def__str__(self): # 작성된 페이지의 제목과 저자를 보여준다. return'{} :: {}'.format(self.title, self.author)
head_image = models.ImageField(upload_to='blog/', blank=True)를 추가했으므로 이제 이미지 파일을 올릴 수 있게 되었다. 이렇게 할 경우 일반적으로 blog폴더에 계속 이미지 파일이 생기게 됨으로 settings.py에 가서 이미지가 저장될 수 있는 폴더를 설정해주어야 한다.
미디어가 저장될 기본 폴더 설정하기
mysite/settings.py
MEDIA_ROOT = os.path.join(BASE_DIR, '_media')
이미지 파일이 _media폴더에 저장되게 된다.
날짜별로 사진 파일 저장하기
blog/models.py
# 이미지 파일 저장을 위한 객체
# upload된 이미지 파일은 blog에 저장이 된다. blank = True는 공란이여도 된다는 의미이다.
head_image = models.ImageField(upload_to='blog/%Y/%m/%d/', blank=True)
upload_to='blog/%Y/%m/%d/'로 저장하게 되면 날짜별로 사진 파일이 저장되게 된다.